|
|

Expert
Posts: 2202
 
Location: Muskego, WI | Preparing to install the stainless trim that snaps over the rain gutter along the roofline. It's very obvious that the top of the trim hooks onto the vertical wall of the rain gutter and then the bottom snaps under the gutter, but where do I start? Near the curve above the rear window since that MUST line up? Or on the long straight end? Something else? Also, would it be wise to lube the bottom edge of the gutter to help the stainless snap in place without scraping the paint off? Help is much appreciated.
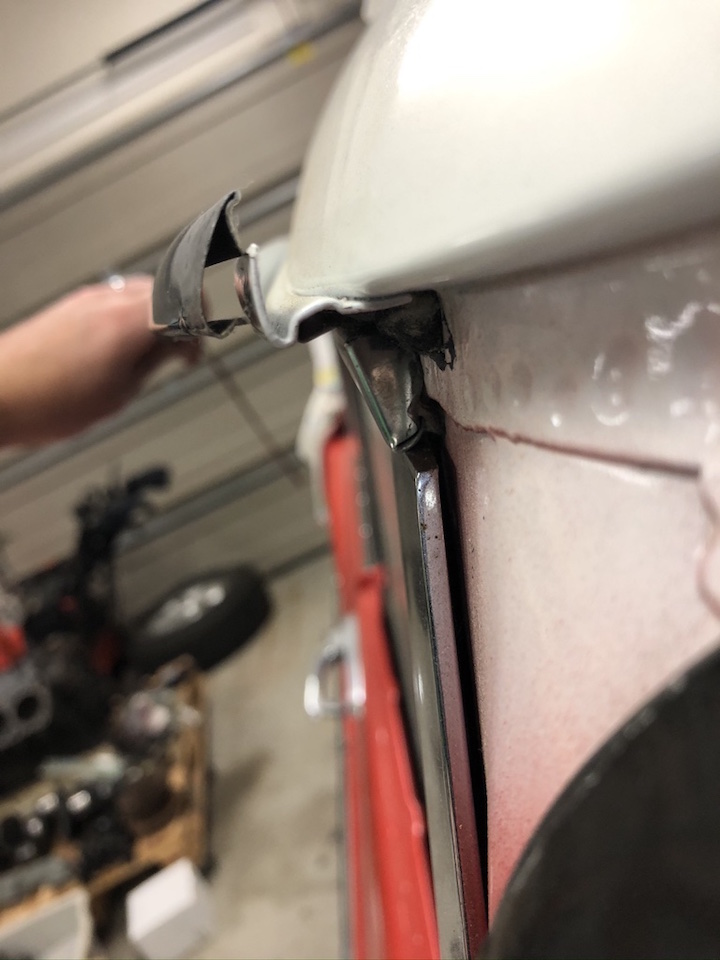 (thumb_IMG_1147_1024.jpg) (thumb_IMG_1147_1024.jpg)
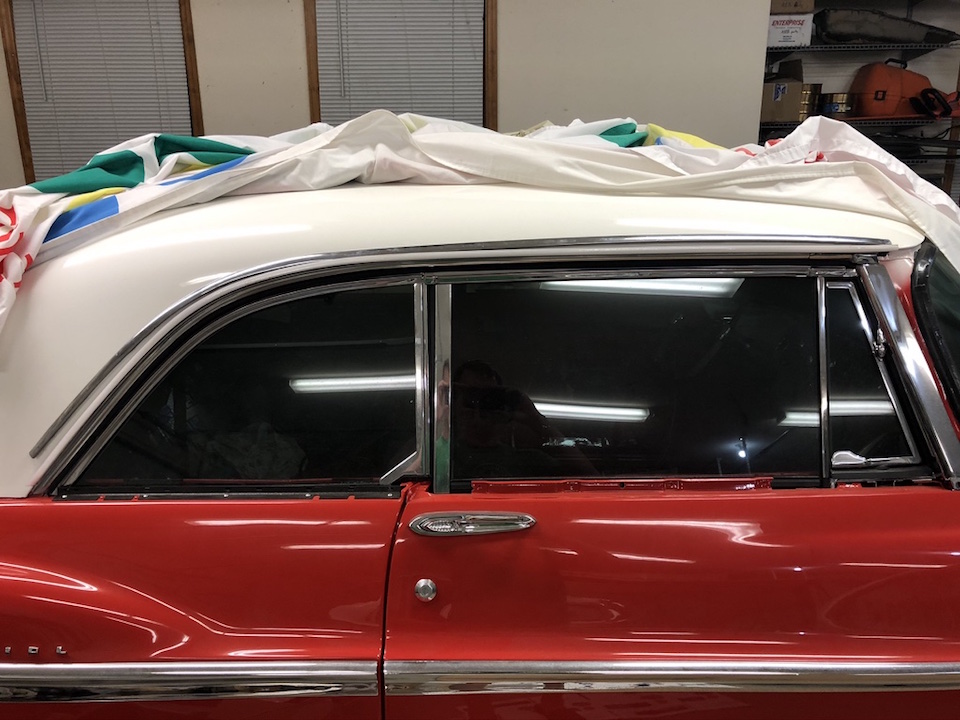 (thumb_IMG_1148_1024.jpg) (thumb_IMG_1148_1024.jpg)
Attachments
----------------
 thumb_IMG_1147_1024.jpg (143KB - 215 downloads) thumb_IMG_1147_1024.jpg (143KB - 215 downloads)
thumb_IMG_1148_1024.jpg (216KB - 217 downloads)
|
|
| |
|
Expert
Posts: 2202
Location: Muskego, WI | No help on this? |
|
| |
|

Expert
Posts: 1207

Location: Ponder, TX | Not sure if I do it the correct way, but I always start at the front and work toward the back using a plastic mallet. So far, so good. |
|
| |
|

Expert 5K+
Posts: 8948
  
Location: WHEELING,WV.>>>HOME OF WWVA | start at the front with just enough to clear the end of the gutter . if you start it on and give it a slight twist as goin on , you can use the back of your hand to slap in place . if you rubber hammer it
in place you'll have a chance of little dents from the hammer . been there done that ----------------------------------------later |
|
| |
|
Expert
Posts: 2202
Location: Muskego, WI | I started at the front as you both suggested, installed by hand applied force only. Went well, both sides are done so thank you for the insight. |
|
| |
 Rain gutter trim installation

